Pear Honey Recipe for Canning – Sweet Preserves Made Easy
Pear Honey Recipe for Canning – Sweet Preserves Made Easy
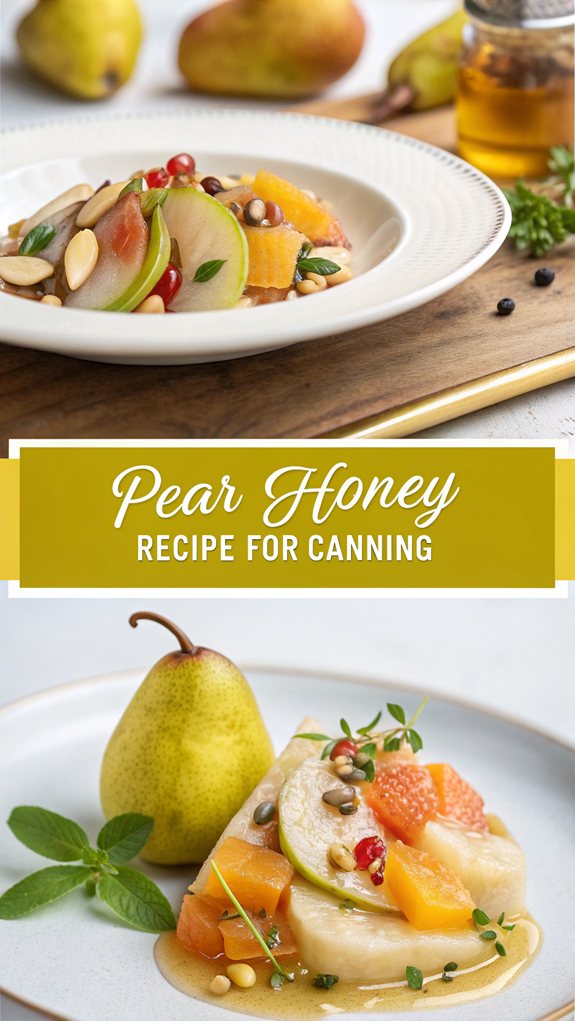
If you’re looking to preserve the natural sweetness of pears, you might find a pear honey recipe for canning to be a perfect solution. With just a few ingredients like fresh pears, sugar, and a splash of lemon juice, you can easily craft delicious preserves that add a delightful twist to your meals. The method is straightforward, but the results are surprisingly versatile. You could improve your breakfast or even raise a simple dessert. Curious about how to get started and what tips can make the process even smoother?
Why You’ll Love This Recipe
If you’re looking for a deliciously easy canning project, this pear honey recipe is the perfect choice. It’s simple and requires minimal special equipment—just a large pot and some canning jars. If you’re new to canning, you’ll appreciate the straightforward steps involved. You can use various types of pears and tweak the sweetness to your taste.
The preparation time is quick, allowing you to efficiently turn fresh pears into a long-lasting treat. You’ll love the sweet flavor with a hint of ginger, and it pairs well with toast, muffins, and pastries. You can even enjoy it with cheese, like sharp cheddar or triple-cream brie, making it an excellent pairing option for cheese lovers.
The versatility in spices means you can experiment with different flavors. Health-conscious individuals will find this recipe appealing too. It’s low in sugar, made with natural ingredients, and can be gluten-free or vegan.
This project is cost-effective as it uses seasonal produce, which saves money compared to store-bought jams. Plus, it reduces waste by turning bruised fruit into tasty preserves. Whether you’re prepping for yourself or making homemade gifts, this pear honey recipe ticks all the boxes.
History
Understanding the history behind pear honey enriches your appreciation of this delightful preserve. Pears have been part of human culture for around 3000 years, with evidence showing their use even earlier. By the time Homer wrote the Odyssey in the 8th century B.C., pears were already celebrated as a divine gift.
Two main types emerged over time: Asian pears, ripening on the tree, and European varieties that ripen off. In Eastern Europe, particularly in Chechnya, pear trees held cultural significance, and cutting one was considered a grave sin. Notably, European pears are often used for making preserves due to their ability to ripen off the tree.
Historically, people preserved pears in various ways, using methods like canning and making preserves to extend their shelf life. Pears may be preserved using hard green varieties like Anjou, Kieffer, or Bartlett. Recipes often feature simple ingredients: pears, sugar, and lemon juice.
The name “pear honey” comes from the golden color the mixture achieves after cooking. This preservation method, rich in tradition, reflects family recipes passed down through generations.
Today, making pear honey isn’t just about the delicious treat; it’s about honoring a historical practice—connecting you to a long line of those who cherished this sweet preserve.
Recipe
Pear Honey Recipe for Canning
Making pear honey is a delightful way to preserve the sweetness of fresh pears while creating a versatile condiment that can be enjoyed on toast, served with cheese, or drizzled over desserts. This recipe takes advantage of the natural sweetness of pears and combines it with sugar, lemon juice, and crushed pineapple, resulting in a luscious spread with a unique flavor profile. Canning can seem intimidating due to the equipment and processes involved, but once you familiarize yourself with it, you’ll be amazed at how simple and satisfying this canning process can be. Before you begin, make sure you have all your ingredients prepped and ready to go. Canning can be a meticulous process, so having everything organized will help streamline your cooking experience.
Once you gather your ingredients and cookware, you’ll soon be on your way to creating a delicious jar of pear honey to enjoy throughout the year!
Ingredients:
– 4 cups peeled, cored, and diced pears
– 2 cups sugar (or honey)
– 1 cup crushed pineapple (drained)
– 1/4 cup lemon juice
– 1/2 cup water
Instructions:
1. Begin by peeling and coring the pears. Dice them into small pieces, and place them in a large pot. Add the crushed pineapple, lemon juice, and water to the pot.
2. Stir in the sugar (or honey) and mix well to combine the ingredients. Let the mixture sit for about an hour or overnight to allow the sugar to dissolve and the flavors to meld.
3. Once the mixture has had time to combine, bring it to a boil over medium heat. Stir frequently to prevent scorching.
4. Reduce the heat and let the mixture simmer for about 30 minutes, or until the pears are tender. Use an immersion blender to blend the mixture until it reaches a silky-smooth consistency.
5. Continue to cook the mixture until it reaches a temperature of 220°F. This will guarantee you achieve the right jam consistency.
6. While the mixture is boiling, prepare your canning jars by sterilizing them in boiling water. Once the jars are hot, ladle the hot pear honey into the jars, leaving about 1/4 inch of headspace at the top.
7. Wipe the jar rims with a clean cloth to remove any residue, then seal the jars with sterilized lids and rings.
8. Process the filled jars in a boiling water bath for about 10-15 minutes, adjusting the time based on your altitude.
9. After processing, carefully remove the jars and let them cool on a clean towel or rack. Once cool, check the seals before storing.
Extra Tips:
When making pear honey, make sure your pears are ripe for the best flavor. Adjust the quantities of sugar and pineapple based on your taste preference; feel free to experiment with different spices like cinnamon or nutmeg for added depth.
Always double-check the sealing of your jars for proper preservation and store them in a cool, dark place to maximize shelf life. Enjoy your homemade pear honey within six months for the best flavor!
Final Thoughts
Canning pear honey not only preserves the fresh flavors of summer but also opens up a world of culinary possibilities. When you decide to can, bear in mind that safety is key. Always use a water bath canner for processing.
Sterilize your jars before filling them, and process them in boiling water for at least 20 minutes to kill any bacteria and guarantee a good seal. Once cooled, check that the lids don’t flex when pressed.
Choose ripe but not overripe pears for the best results. Varieties like Bartlett work great, but feel free to pick any ripe type. Make certain to peel, core, and slice the pears, discarding any bruised areas to prevent spoilage. Additionally, be aware that fresh pears are the primary ingredient, which plays a vital role in the success of your pear honey.
Gather your canning equipment including jars, seals, and rings beforehand. An immersion blender can help create a smooth pear mixture if that’s your preference.
After canning, store your jars in a cool, dark place. Pear honey not only delights your taste buds throughout the year but also makes perfect gifts.
Be sure to label and decorate your jars for a personal touch, making sharing your delicious creation easy and fun.
FAQ
If you have questions about canning pear honey, you’re not alone. Many people want to guarantee their preserves are safe and tasty. First, always sterilize your jars before you fill them. This step is critical to prevent spoilage.
When making pear honey, combine pears, crushed pineapple, lemon zest, and lemon juice in a pot. After adding sugar, cook it over medium-low heat until the sugar dissolves and the mixture thickens, which takes about an hour. This flavorful spread is enhanced by crushed pineapple and fresh lemon zest, making it a delightful addition to your preserves.
Use an immersion blender to purée the mixture for a smooth texture.
Once you’re ready to can, fill your hot, sterile jars, leaving about ¼ inch of headspace. Wipe the rim with a vinegar-dipped cloth to remove any residue. Place the lids on and tighten them to fingertip tight.
When processing the jars, use a boiling water canner for 15-20 minutes to guarantee they seal properly.
For storage, keep sealed jars in a cool, dry place for up to one year. Remember to check the seals; they should hold tight after 10-15 minutes. If any jars don’t seal, store them in the fridge for up to two months.