Slime Recipe with Liquid Starch – Fun DIY Project
Slime Recipe With Liquid Starch – Fun DIY Project
If you’re looking for a simple yet engaging project, making slime with liquid starch might be just what you need. This recipe not only invites creativity but also presents a chance to investigate some basic scientific concepts with everyday materials. You’ll find that mixing PVA glue with liquid starch creates a fascinating transformation, leading to a stretchy, customizable slime. Curious about what else you can do to improve this DIY project? There are a few tricks and tips that can raise your slime-making experience beyond the basics.
Why You’ll Love This Recipe
You’ll love this slime recipe for its incredible ease of customization and simple ingredients. With just glue and liquid starch, you can create a range of unique slimes. You can easily add vibrant colors using food coloring, liquid watercolors, or colored glue.
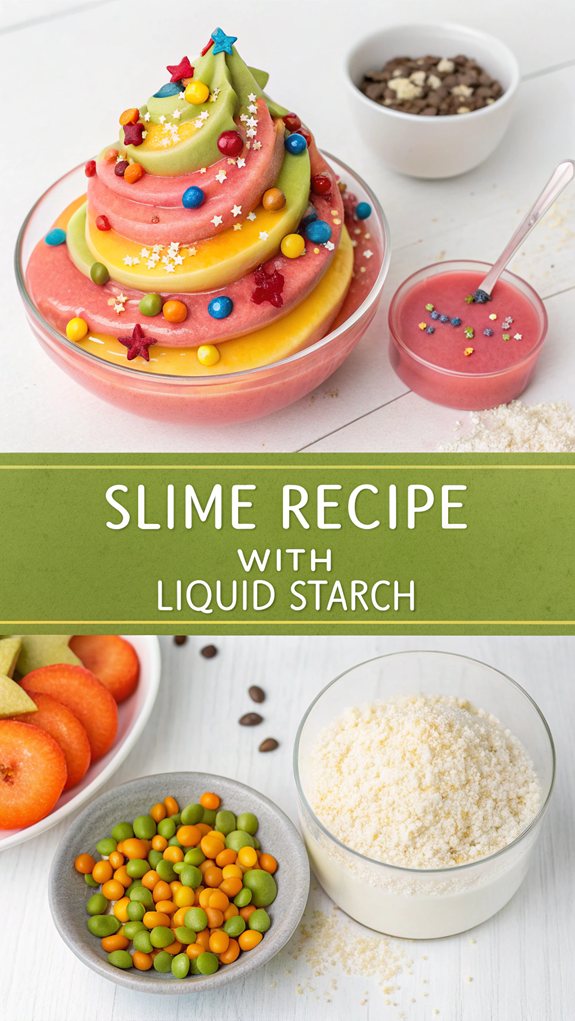
Want to make it visually interesting? Feel free to throw in glitter, gems, or beads for added texture and appeal.
This recipe’s versatility allows you to tailor the slime to specific themes or seasons, like Halloween or Christmas. Adjustments require minimal additional ingredients, so you won’t break the bank with this project. Plus, the slime is safe to handle when proper precautions are taken.
The best part? It takes only about five minutes to prepare. Mix the glue and optional ingredients in a bowl, then add liquid starch. The slime forms quickly. Kneading helps you achieve your desired consistency, and if it’s too sticky, just add more liquid starch.
Not only is this fun, but it also offers educational benefits. Playing with slime promotes fine motor skills, communication, and problem-solving abilities. You’ll investigate different sensory attributes while learning about polymers and chemical reactions.
This project is engaging and informative, making it a fantastic choice for all ages.
History
Liquid starch slime has a fascinating history rooted in simple chemistry and creativity. It’s a popular DIY project that brings science and fun together. The use of liquid starch as a slime activator relies on the borate ions inside it, which react with PVA glue to create a stretchy substance. This combination results in a tactile experience that appeals to kids and adults alike.
The basic recipe has become a foundation for various adaptations. Typically, you mix PVA glue with liquid starch, adjusting the ratios to achieve your preferred consistency. Some recipes suggest adding a bit of water for smoother blending and enhancing the visual appeal with glitter or food coloring. In fact, a recommended ratio for optimal consistency is approximately equal parts glue and starch, which results in the best texture.
Not only is making slime enjoyable, but it also teaches fundamental chemistry principles. By witnessing how the glue and starch interact, you’re engaging in a hands-on activity that makes science more approachable.
The journey of experimenting with different ingredients and ratios allows for creativity, leading to unique slime textures. As you create your own variations, you’re participating in a tradition that celebrates both fun and innovation in science.
Recipe
Slime Recipe with Liquid Starch****
Making slime is a fun and creative activity that allows you to experiment with different textures, colors, and mix-ins. The combination of PVA white school glue and liquid starch creates a stretchy and satisfying product that kids and adults alike love to play with. Liquid starch acts as a cross-linker for the polymer strands in glue, enhancing the slime’s texture.
With just a few simple ingredients, you can whip up a batch of slime in no time. Feel free to customize your creation with food coloring, glitter, or other exciting add-ins to make your slime unique!
Before you get started, gather your materials and set up your workspace. You’ll want a clean area where you can mix the ingredients without worrying about spills. Slime can be a bit messy, but it’s all part of the fun!
Follow the recipe below to create your desired slime and enjoy the tactile experience it offers.
Ingredients:
– 1 cup PVA white school glue (like Elmer’s)
– 1/4 – 1/2 cup liquid starch (like Sta-Flo)
– Water (optional)
– Food coloring (optional)
– Glitter or other mix-ins (optional)
Instructions:
1. Begin by adding 1 cup of PVA white school glue to a mixing bowl. If you wish to achieve a stretchier consistency, add a small amount of water and mix well until combined.
2. If you’d like to add color to your slime, pour in your desired amount of food coloring or mix-ins such as glitter. Stir thoroughly until the color is evenly blended throughout the glue mixture.
3. Gradually pour in 1/4 to 1/2 cup of liquid starch while stirring continuously. You may need to adjust the amount depending on the texture you prefer.
4. Stir the mixture until it begins to form a cohesive slime. If it starts to pull away from the sides of the bowl, you’re on the right track!
5. Once the slime is formed, knead it by hand for a few minutes until you achieve your preferred consistency. This will help eliminate any stickiness.
Extra Tips:
Make sure to use name-brand products like Elmer’s glue and Sta-Flo liquid starch for the best results.
Adding liquid starch slowly is key to ensuring you don’t make the slime too stiff. If the slime feels too sticky after kneading, continue to work it more or add a little more liquid starch.
Finally, store your completed slime in an airtight container to keep it fresh for future use! Experiment with different slime recipes, like fluffy slime or floam, for more variety.
Final Thoughts
Creating slime can be an incredibly satisfying process that encourages creativity and experimentation. However, it’s crucial to keep safety in mind throughout this fun activity. Always wash your hands after handling slime, and bear in mind that it’s not something to eat. Supervise children closely to guarantee they handle all ingredients safely, and keep slime away from infants and pets. Homemade slime has gained immense popularity, so it’s essential to educate children about safe slime-making practices.
For the best results, choose quality ingredients like PVA school glue and skin-friendly additives. Start with a quarter cup of liquid starch, and adjust as needed to achieve your desired slime consistency. If your slime feels sticky, add more liquid starch, a tablespoon at a time.
After playing, store your slime in an airtight container to prevent it from drying out. Make certain your workspace is clean and that you’re using separate tools for slime-making to avoid contamination with food items. If spills occur, clean them up thoroughly, especially with powdered ingredients.
Finally, keep an eye on how long you play with slime daily; about half an hour is a good timeframe. By following these guidelines, you’ll enjoy a safe and enjoyable slime-making experience.
FAQ
If you’ve got questions about making slime with liquid starch, you’re not alone. Let’s tackle some common FAQs to help you succeed in your slime-making adventure.
First, for basic slime, you’ll need 1 cup of PVA school glue, between 1/4 to 1/2 cup of liquid starch, and optional water. You can add food coloring or glitter for fun variations.
If your slime turns out too sticky, don’t worry—just incorporate a bit more liquid starch. If it’s stringy, knead it well to improve texture. Conversely, if your slime feels slippery, cut back on the starch.
For consistency, make certain you measure your ingredients correctly. It’s essential to mix thoroughly before kneading to guarantee even texture. If you want to customize your slime, try adding beads or sequins.
Regarding safety, liquid starch slime is generally non-toxic, so it’s suitable for kids. Not only is making slime a fun project, but it also offers sensory benefits, educational opportunities, and even therapeutic effects. Always remember to ensure that supervision is required during slime making and play to maintain safety.
Just remember to store your slime in a cool place to keep its texture intact. Happy crafting!